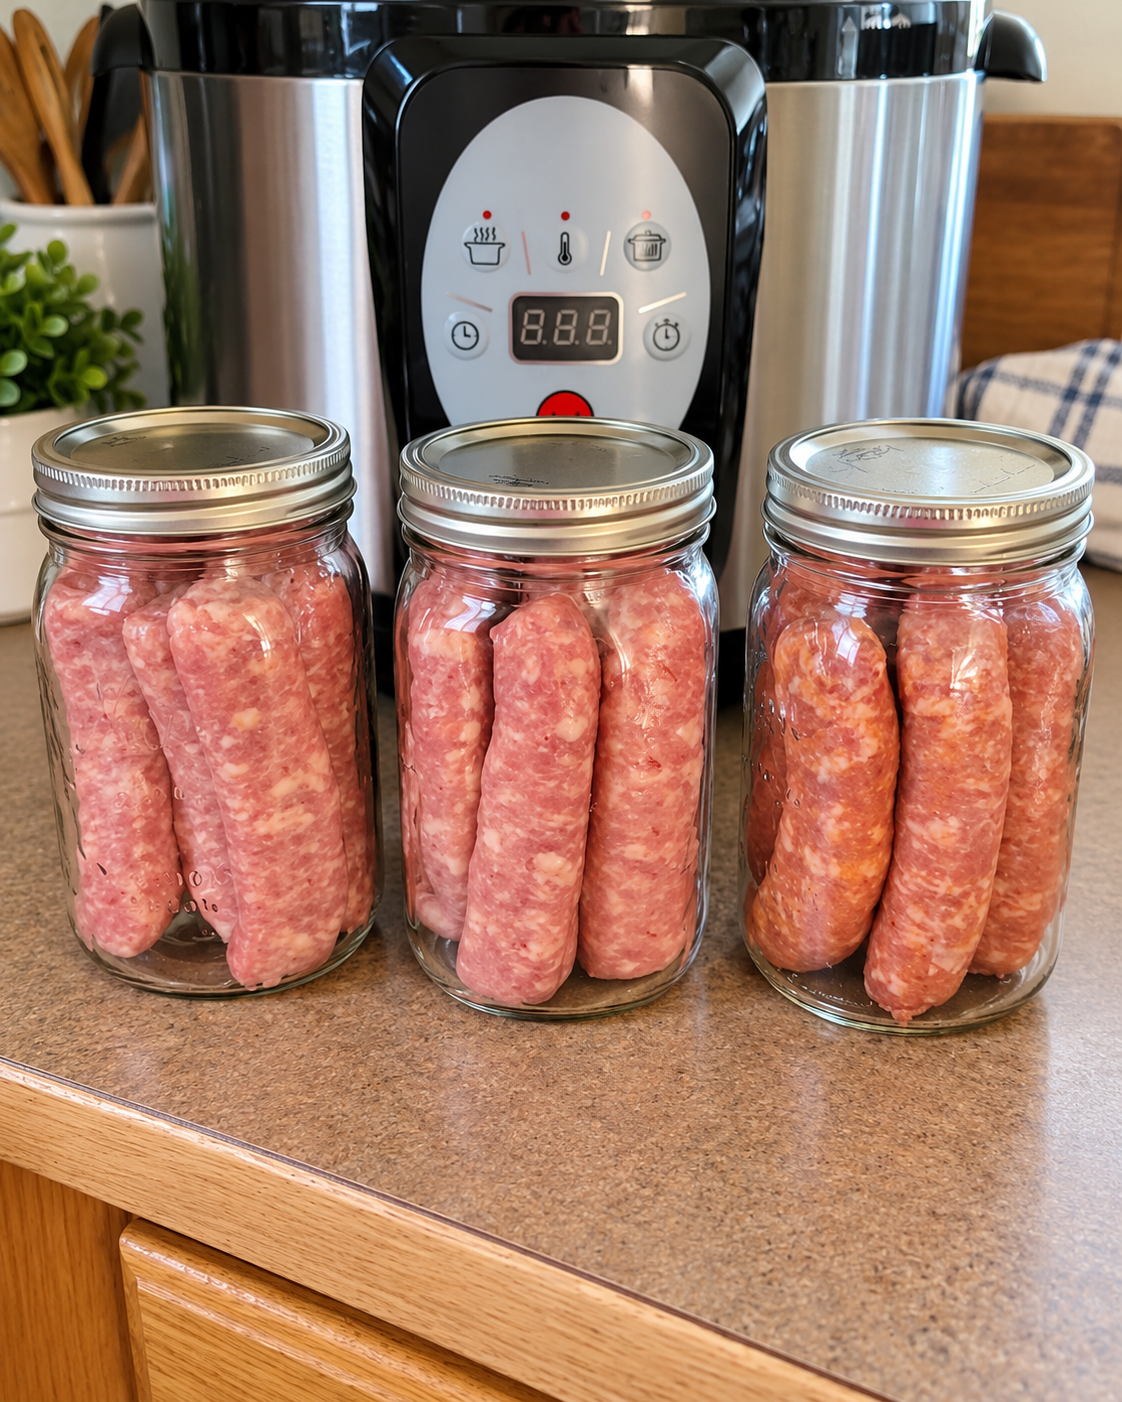
Homemade sausage in jars can be wonderfully convenient.
Once safely preserved, it gives you ready-to-use meat for breakfast, casseroles, soups, pasta dishes, gravy, sandwiches, and those evenings when cooking from scratch feels slightly too ambitious.
The important part is the method.
Sausage is a low-acid meat, so shelf-stable jars require pressure canning with a tested process. The sausages should also be lightly browned before packing rather than simply placing raw links into jars.
The appliance pictured behind the jars resembles an electric multi-cooker. For shelf-stable meat, use a proper pressure canner rather than a small electric pressure cooker or multi-cooker. Current home-preservation guidance does not recommend applying USDA meat-canning processes to those appliances.
Why Home-Can Sausage?
Canning sausage is mostly about convenience.
A sealed jar sitting on the pantry shelf can turn into dinner quickly.
You can use the cooked sausage for:
- Breakfast with eggs
- Sausage gravy
- Pasta sauce
- Bean dishes
- Casseroles
- Soups
- Rice bowls
- Breakfast potatoes
- Sandwiches
- Homemade pizza
Because the meat is already cooked during preparation and processing, there is much less work when you’re ready to serve it.
The Most Important Safety Rule
Meat cannot be safely preserved using a boiling-water bath.
Water at normal boiling temperature does not provide the processing conditions required for low-acid foods such as sausage.
A proper pressure canner is necessary.
USDA-style pressure-canning recommendations are developed for canners large enough to hold at least four quart jars upright on a rack. Small pressure cookers and electric multi-cookers are not considered interchangeable with these canners.
A jar sealing is also not proof that its contents were safely processed.
Safety comes from following the entire tested heating process.
Simple Sausage for Canning
Use fresh, chilled sausage.
You can use pork, beef, venison sausage, or another fresh sausage that fits the tested ground-meat process.
For the simplest homemade version, try:
Ingredients
- 4 pounds fresh ground pork
- 1 tablespoon salt
- 2 teaspoons black pepper
- 1 teaspoon garlic powder
- ½ teaspoon cayenne pepper, optional
You will also need:
- Boiling meat broth, tomato juice, or water
- Clean Mason-type canning jars
- New canning lids
- Screw bands
- A true pressure canner
Avoid adding flour, breadcrumbs, milk, cheese, eggs, or other ingredients that could change the density of a tested canning recipe.
For home canning, simple is a very good thing.
Shape the Sausage
Mix the meat and seasonings thoroughly.
Form the mixture into small patties, meatballs, or sausage-shaped portions.
If you’re using fresh cased sausage, cut the links into pieces approximately 3–4 inches long.
Choose pieces that will fit comfortably into your jars without being forced against the glass.
Do not cram the jar as tightly as humanly possible.
Food needs room for the tested heating process to work properly.
Brown the Sausage First
Heat a skillet over medium heat.
Cook the sausage pieces until they are lightly browned.
They do not need to be deeply crisp or cooked until dry.
You are simply following a hot-pack method and rendering some of the excess fat.
Transfer the browned sausage to a plate or tray.
Drain away excess grease.
The National Center for Home Food Preservation’s tested method for sausage and other ground or chopped meats calls for lightly browning the pieces before filling the jars.
Prepare the Packing Liquid
Bring your chosen liquid to a boil.
You can use:
- Meat broth
- Tomato juice
- Plain water
Broth usually gives the richest final flavor.
If using broth, avoid making it extremely fatty.
A simple beef, pork, chicken, or vegetable broth can work depending on the sausage.
Keep the liquid hot while filling the jars.
Fill the Jars
Place the hot browned sausage pieces into the jars.
Do not tightly compress them.
Pour boiling broth, tomato juice, or water over the meat.
Leave 1 inch of headspace at the top of each jar.
Remove trapped air bubbles with an appropriate nonmetallic jar tool.
Check the headspace again and add more hot liquid if necessary.
Wipe the jar rims carefully.
Fat or food residue on the rim can interfere with sealing.
Place the lids and screw bands on according to the lid manufacturer’s instructions.
Pressure-Canning Times
For the tested hot-pack method for sausage and other ground or chopped meat:
- Pint jars: 75 minutes
- Quart jars: 90 minutes
Pressure depends on both your canner type and altitude.
For a dial-gauge pressure canner:
- 0–2,000 feet: 11 PSI
- 2,001–4,000 feet: 12 PSI
- 4,001–6,000 feet: 13 PSI
- 6,001–8,000 feet: 14 PSI
For a weighted-gauge pressure canner:
- 0–1,000 feet: 10 PSI
- Above 1,000 feet: 15 PSI
These are tested processing recommendations for ground/chopped meat, including sausage.
Altitude matters, so determine your elevation before beginning.
Using the Pressure Canner
Add the amount of water specified by your pressure-canner manufacturer.
Place the filled jars upright on the canner rack.
Secure the lid.
Heat the canner until a steady stream of steam escapes through the vent.
Vent the pressure canner for 10 full minutes before adding the weight or closing the petcock and allowing pressure to build.
Bring the canner to the correct pressure for your altitude.
Only then begin timing.
Maintain the required pressure for the entire processing time.
If the pressure falls below the required level during processing, bring it back to the correct pressure and restart the processing time from the beginning.
Let the Canner Cool Naturally
When processing is complete, turn off the heat.
Do not force the canner to cool.
Do not pour cold water over it.
Do not open the vent early.
Allow the pressure to return naturally to zero.
After the pressure has fully dropped, follow your canner manufacturer’s instructions for opening it safely.
Open the lid away from your face so escaping steam travels in the opposite direction.
Remove the jars carefully and place them upright on a towel or heat-resistant surface.
Don’t Tighten the Lids After Processing
Leave the jars alone while they cool.
Do not press the lids.
Do not tighten the bands.
Do not repeatedly pick up the jars to see whether they sealed.
Allow them to cool undisturbed for 12–24 hours.
Then remove the screw bands and test each seal.
A properly sealed lid should remain firmly attached and should not flex up and down when pressed.
What If a Jar Doesn’t Seal?
An unsealed jar is not automatically ruined.
If you notice the failed seal promptly, refrigerate the jar and use the sausage soon.
Another option may be reprocessing according to current safe canning guidance, but refrigeration is often the simplest choice.
Never place an unsealed meat jar in the pantry.
How to Store Home-Canned Sausage
Once the jars have cooled and the seals have been checked, remove the screw bands.
Wash and dry the outside of the jars.
Label each jar with:
- Sausage type
- Processing date
Store in a cool, dry, dark location.
A temperature around 50–70°F (10–21°C) is considered ideal for quality.
Avoid areas beside an oven, boiler, sunny window, or other source of heat.
Before Opening a Jar
Inspect every jar before eating the contents.
Do not taste questionable home-canned food to determine whether it is safe.
Discard a jar if you notice anything suspicious, including:
- Broken seal
- Bulging lid
- Leaking
- Spurting liquid when opened
- Unusual odor
- Mold
- Unexpected discoloration
- Strange bubbling
Botulism contamination does not always produce an obvious smell or appearance, which is why correct processing matters more than simply looking at the jar afterward.
Easy Ways to Serve Canned Sausage
Once opened, the sausage can become an easy meal.
Breakfast Skillet
Brown sliced sausage with potatoes, onions, and bell peppers.
Add eggs at the end.
Sausage Gravy
Warm chopped sausage in a skillet.
Prepare your favorite milk-based gravy and serve over biscuits.
Pasta Dinner
Brown sausage pieces briefly.
Add tomato sauce, garlic, herbs, and cooked pasta.
Sausage and Beans
Combine sausage with white beans, tomatoes, onions, and herbs.
Simmer until everything is hot.
Breakfast Sandwich
Slice the sausage and brown it in a skillet.
Serve with egg and cheese on a toasted English muffin.
Having jars ready makes all of these considerably faster.
Flavor Variations
Keep the sausage itself relatively simple when canning.
You can change the meal dramatically after opening the jar.
For an Italian-style dinner, add:
- Basil
- Oregano
- Garlic
- Tomato sauce
For breakfast, add:
- Black pepper
- Eggs
- Potatoes
For something spicy, add:
- Chili flakes
- Hot sauce
- Bell peppers
This approach gives you more flexibility than heavily seasoning every jar.
Frequently Asked Questions
Can I put raw sausage directly into the jars?
The tested ground-meat and sausage method described here uses a hot pack: lightly brown the sausage first, remove excess fat, then pack it with boiling liquid.
Can I use an Instant Pot or electric multi-cooker?
Not for this USDA pressure-canning process.
Electric multi-cookers have not been demonstrated to provide the same tested heating and cooling process used to establish these meat-canning recommendations.
Can sausage be water-bath canned?
No.
Low-acid foods such as meat require pressure canning.
Can I can sausage without liquid?
Use the tested method rather than improvising. The process described here calls for boiling broth, tomato juice, or water with 1 inch of headspace.
Can I add cheese to the jars?
Don’t add cheese, dairy, flour, or other thickeners unless they appear in a specifically tested canning recipe.
Add cheese when serving instead.
Can I use pint jars?
Yes.
Pints are especially convenient for smaller households and are processed for 75 minutes using the appropriate pressure for altitude.
Why remove the screw bands during storage?
Once a jar has sealed and cooled, the lid itself maintains the vacuum. Removing the band also makes it easier to notice certain seal failures during storage.
Final Thoughts
Home-canned sausage can be one of the handiest things on a pantry shelf.
A jar can quickly become breakfast, pasta, soup, beans, gravy, or a simple skillet dinner.
The key is not trying to make the process faster or easier by using an ordinary electric pressure cooker or placing raw sausage into jars and hoping a sealed lid means success.
Brown the sausage, use hot liquid, leave the proper headspace, and process it for the full tested time in a genuine pressure canner.
Home preservation is wonderfully old-fashioned in the best possible way—but when meat is involved, this is one recipe where following the tested method exactly is worth every minute.